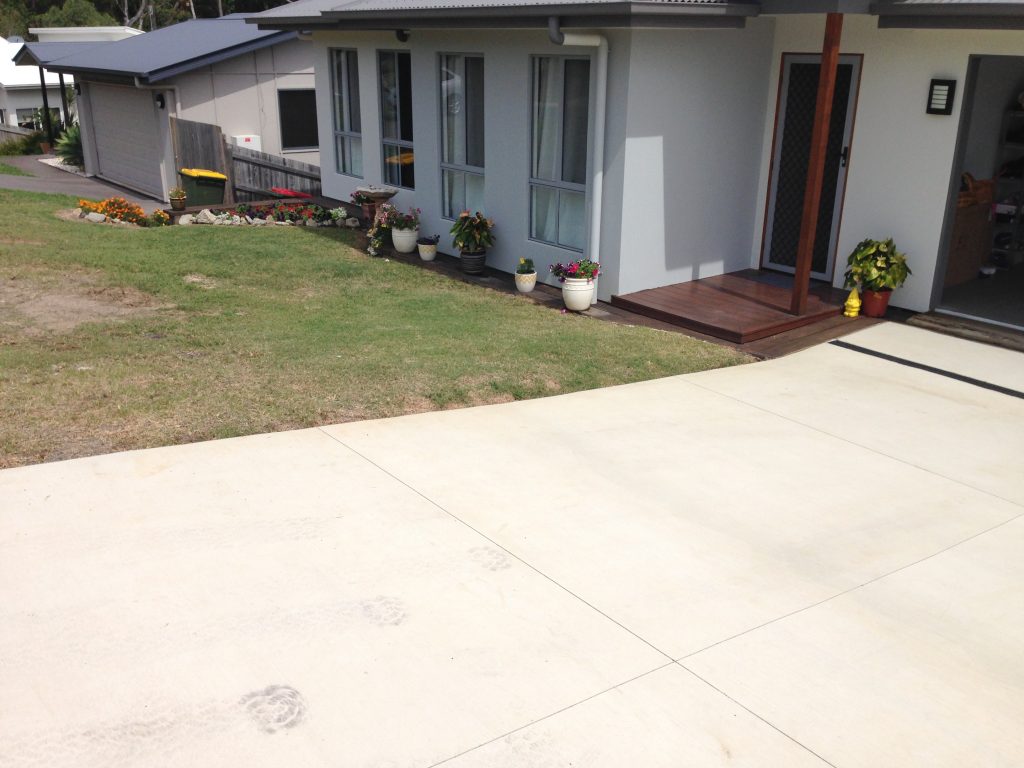
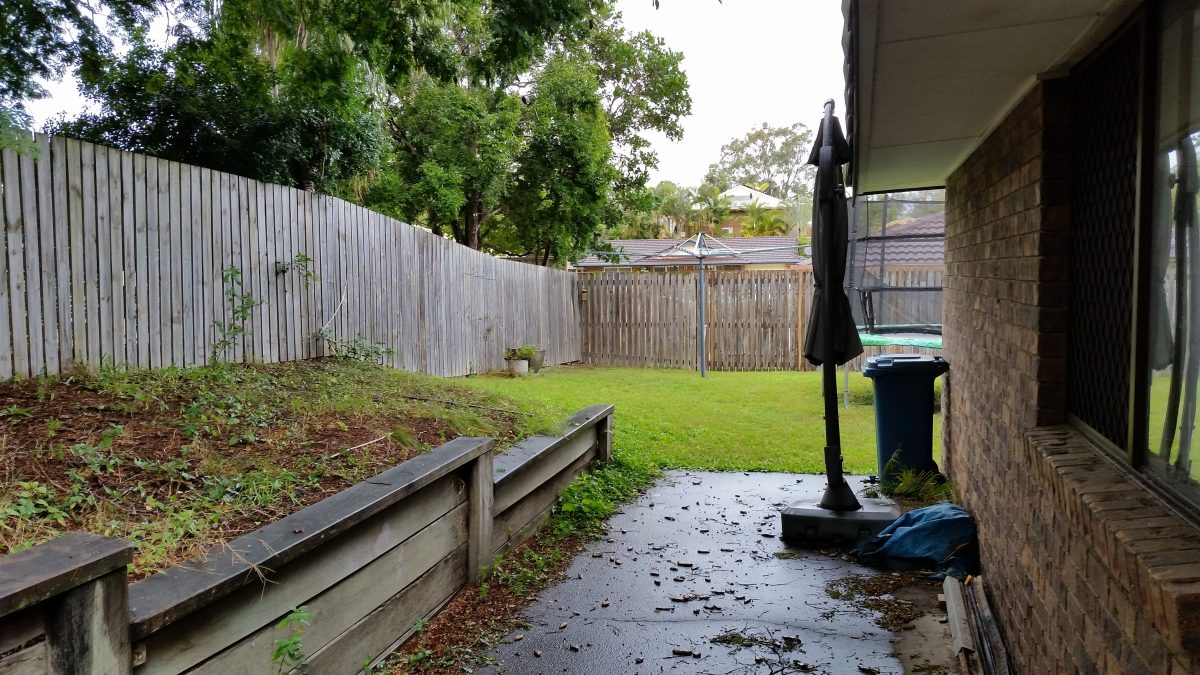
If water is getting into your basement, through your retaining wall or pooling around your house on a sloping block — this page and the video above are for you.
We’ve been solving drainage problems around houses on sloping sites for over twenty years. The good news is that most drainage problems follow predictable patterns, and most of them have practical solutions. The bad news is that the solutions have to be applied in the right order — starting with the water source furthest from your house, not the wall the water is coming through.
This is the most important thing to understand before you spend any money on drainage work. If you treat the symptom — the leaking retaining wall, the wet basement — without addressing the source — the upslope water that’s causing it — you will spend money and the problem will not go away.
Work outward to inward. Always.
What Causes Drainage Problems on Sloping Blocks?
Houses on sloping blocks face a simple physics problem: water runs downhill. Everything upslope of your house — your neighbour’s property, your own driveway, the road — is a potential source of water heading toward your building.
Most drainage problems on sloping blocks come from one or more of these eight sources:
- Water from an upslope neighbour running across their property and onto yours
- Water landing on your own property that isn’t being directed away from the house
- Roof water not being discharged downstream of your house
- Sandy or porous topsoil over clay — water soaks through the sand and runs toward the house at the clay layer below
- Gravel backfill behind retaining walls — correctly installed for drainage, but highly porous and fast to fill with surface water
- Failed or absent waterproofing on the back of retaining walls or basement walls
- Ag pipes connected to roof downpipes on the uphill side of the house — a plumbing mistake that delivers roof water directly into the ground beside your footings
- Pipe trenches graded toward the house — water travels backward through the trench and under the building
We’ll work through each of these in order — and that order matters. Start at the top of the list. Fix what you can upstream before you work closer to the house.
Step 1: Water From an Upslope Neighbour
The first place to look is over the fence.
As structural engineers, we often start a drainage investigation by checking the lay of the land upslope of our client’s property — using aerial photos, contour maps, or a quick look from the street. We’re looking for catchment area: how much ground above your house drains toward it?
If your upslope neighbour has a large, hard-paved property — concrete driveway, large roof area, minimal garden — there can be a significant volume of water heading toward your boundary line during any decent rainfall event.
You can’t control what happens on their property. What you can do is intercept that water at your boundary before it reaches your house. The right tool for this is a spoon drain — a concrete surface drain that collects overland flow and diverts it around the side of your house before it can soak into the ground.
Read more: What is a spoon drain?
cornellengineers.com.au/what-is-a-spoon-drain-in-residential-construction/
A spoon drain is roughly one metre wide and 80–120mm thick, with a sloping base that carries the water sideways and downstream. It sits at the surface — it is not an underground pipe — because its job is to capture surface water before it enters the ground.
Step 2: Water Landing on Your Own Property
If your own property has areas that drain toward the house rather than away from it, this is the next thing to address.
The critical point that most homeowners miss: it’s the clay layer under any porous material that determines which way water actually flows — not the visible surface. If you have gravel, sand, mulch, or pavers sloping away from your house, but the clay soil beneath them slopes back toward the house — the water soaks straight through the surface material and then runs toward the house at the clay layer.
Get the drainage fall right at the soil level, not just the surface level.
AS 2870 requires a surface fall of not less than 50mm over the first metre away from the building. That fall has to be in the clay soil under any porous fill — not just in the visible surface.
Again, spoon drains on the uphill side of the house are the most reliable solution for capturing overland flow on your own property before it reaches the building.
Step 3: Roof Water
Check your gutters and downpipes.
Roof water needs to end up downstream of your house — in the stormwater system, flowing away from the building. If downpipes are discharging on the uphill side of the house, or discharging directly onto the ground near the footings, they are contributing to the drainage problem.
Keep your gutters clean and clear. When you run a hose in your gutter, water should come out of a pipe somewhere downstream of your house. If it doesn’t — find out where it’s going.
Add extra downpipes if your gutters are overflowing. Upgrade downpipe sizes if capacity is the issue. Getting roof water downstream of the building is priority number one, before anything else.
One critical warning: never connect roof downpipes to an ag pipe (slotted drainage pipe) on the uphill side of your house. Ag pipes are designed to release water into the surrounding soil — connecting roof water to them on the uphill side effectively pumps your roof water directly into the ground beside your footings. This is one of the most damaging drainage mistakes made on sloping sites.
Read this! How agricultural drains wreck houses — cornellengineers.com.au/how-agricultural-drains-wreck-houses
Step 4: Sandy Soil Over Clay
This is a drainage problem that isn’t always obvious until you understand what’s happening below the surface.
Many sites in south-east Queensland have a layer of sandy or loamy topsoil sitting over a clay layer below. Water soaks quickly through the sandy layer and then, when it hits the impermeable clay, it starts to run laterally — following the slope of the clay surface. If the clay surface slopes toward your house, that’s where the water goes.
You can’t easily change the slope of a buried clay layer. What you can do is intercept the water before it reaches the house — either with a cut-off drain or spoon drain on the uphill side, or with an agricultural drain (ag pipe) trench designed to capture the sub-surface flow.
If you’re using an ag pipe to solve this problem, be careful. The ag pipe trench must:
- Slope downhill in the direction of water flow
- Discharge downstream of your house — not under it or beside it
- Be kept at least 500mm from the house
- Not be connected to roof water
Step 5: Gravel Backfill Behind Retaining Walls
Gravel backfill behind a retaining wall is correct construction practice — it provides drainage for groundwater that would otherwise build up as hydrostatic pressure against the wall. But it comes with a complication.
Gravel is highly porous. On a sloping site, any surface water running down the slope that reaches the gravel zone soaks straight through it. The gravel does its job — it drains the water — but it drains it directly to the base of the retaining wall.
This is why solving a leaking basement or retaining wall often requires going back to the upslope sources first. If you address the surface water further up the slope with spoon drains and correct downpipe routing, you reduce the volume of water reaching the gravel — and the retaining wall can cope.
If you’ve already addressed the upstream sources and the retaining wall is still leaking, the next step is to look at what’s happening at the wall itself.
Step 6: Failed Waterproofing on Retaining Walls
A retaining wall that has earth on one side and air on the other needs waterproofing on the earth side. This is the EARTH face of the wall — the side you can’t see once the wall is built and the soil is backfilled.
Failed waterproofing is one of the hardest drainage problems to fix, because the wall has to be either partially excavated from the outside or treated from the inside — neither of which is straightforward or cheap.
This is why we address it last. It’s the most expensive fix, the least reliable and the most disruptive. If there are upstream water sources that can be managed, fix those first. If the waterproofing genuinely needs work, then it needs work — but don’t start there.
Step 7: Ag Pipe Problems
A poorly installed ag pipe can wreck your house. This statement is not an exaggeration.
An agricultural drain is a slotted pipe surrounded by gravel in a trench. Its job is to collect water that is already in the ground — groundwater — and carry it downstream. It does this well when installed correctly.
When installed incorrectly, it delivers water from the ground outside the trench straight into the ground beside or under your house.
The most common ag pipe installation mistakes on sloping sites:
The trench base is graded toward the house. Water travels along the outside of the pipe through the gravel in the trench, following the slope of the trench base. If the base slopes toward the house, that’s where the water goes — even if the pipe itself slopes away.
Solution: always slope the bottom of ag pipe trenches away from the house, and use a clay plug — a 400mm length of damp clay tamped into the trench around the pipe — to prevent water from back-flowing through the trench toward the building.
The ag pipe is connected to the roof downpipes. See Step 3 above. Never do this on the uphill side of a house.
The ag pipe is too close to the house. Keep ag pipe trenches at least 500mm from the building footings.
The ag pipe discharges near the house. The discharge point must be downstream of the house — not beside it or near the footings.
Step 8: Rainwater Bubblers and Field Inlet Pits
Rainwater bubblers (field inlet pits) are grated inlet boxes that allow surface water to flow in and leave via an underground pipe. They’re useful downstream of the house as a way of capturing roof water and surface runoff.
We only specify field inlet pits downstream of a house. Installed on the uphill side, they can flood back under the house when overwhelmed by heavy rain. The grate can also block with debris — once blocked, water backs up and flows wherever it can find a path, which may be toward the house.
The Right Order: A Summary
Work through the problem in this sequence. Each step you solve upstream reduces the pressure on every step below it.
| Priority | Source | Solution |
|---|---|---|
| 1 | Upslope neighbour water | Spoon drain at boundary |
| 2 | Own property drainage | Surface regrading, spoon drains |
| 3 | Roof water | Gutters, downpipes, stormwater routing |
| 4 | Sandy soil over clay | Interceptor drain or ag pipe upslope |
| 5 | Gravel backfill | Reduce surface water reaching it (steps 1–4) |
| 6 | Retaining wall waterproofing | Last resort — excavate and re-waterproof |
DIY Drainage Inspection Checklist
Before you call anyone, do this inspection yourself — ideally during or immediately after heavy rain.
Walk around your property and note:
- Where is water pooling? How close is it to the house?
- Is water running toward the house or away from it?
- Are gutters overflowing? Are downpipes blocked or discharging near the footings?
- Is there efflorescence (white powdery staining) on any retaining walls or basement walls?
- Are existing spoon drains or grated pits clear of debris and functioning?
- Can you see where your neighbour’s water goes during heavy rain?
- Is any paving, concrete, or landscaping directing water toward the house?
When to Call a Structural Engineer
You don’t always need an engineer for a drainage problem on a sloping block. Some issues — blocked gutters, poorly graded garden beds, a disconnected downpipe — are straightforward enough to fix directly.
You should call a structural engineer when:
- Water is entering a basement or getting behind a retaining wall despite basic drainage fixes
- There is cracking or movement in the house you believe may be drainage-related
- You’ve had drainage work done and the problem hasn’t improved
- You want a drainage design you can give to a landscape gardener, plumber, or contractor to implement
- You’re building a new house on a sloping block and want drainage designed properly from the start
Cornell Engineers provides drainage assessment and design for houses on sloping sites across Queensland and New South Wales.
Request a quote
Contact us
Phone: 07 3102 2835
Frequently Asked Questions
Why is water getting into my basement even though I have ag pipes installed? Ag pipes capture groundwater — water that is already in the soil — and channel it downstream. They do not stop overland flow (water running across the surface) from soaking into the ground. If surface water is reaching your ag pipe trench, the gravel in the trench will carry that water straight to your basement wall. The solution is to capture surface water upstream of the house with spoon drains before it reaches the ag pipe zone.
How do I stop water from coming through my retaining wall? Work outward from the house and address water sources from furthest to closest. Start by checking whether your neighbour’s water is entering your property, then check your own drainage falls, then roof water routing, then the condition of the gravel backfill behind the wall. Re-waterproofing the back of a retaining wall is the most expensive and disruptive option — address upstream water sources first to reduce the volume of water the wall has to deal with.
What is a spoon drain and when should I use one? A spoon drain is a flat, wide concrete surface drain about one metre wide that collects overland flow and diverts it around the side of a house. It’s the most reliable solution for surface water on a sloping site because it captures water at the surface before it enters the ground. Use a spoon drain on the uphill side of a house to intercept water from upslope neighbours or your own property. More detail: What is a spoon drain?
Can I connect my roof downpipes to an ag pipe? Not on the uphill side of your house. Ag pipes are slotted — they release water into the surrounding soil. If roof water enters an ag pipe on the uphill side of your house, it is being delivered directly into the ground beside your footings. Always route roof water via solid (unslotted) pipes to the stormwater system, and discharge it downstream of the house.
What is a clay plug in a drainage trench? A clay plug is a 400mm length of damp clay, tamped (compressed) into an ag pipe trench around the pipe. Its purpose is to stop water from travelling backward through the trench — along the outside of the pipe through the gravel — toward the house. Clay is impermeable, so it blocks that path. If your ag pipe trench is running back toward the house, a clay plug installed at the high end of the trench is one way to address the problem.
How far from the house should an ag pipe be installed? Keep ag pipe trenches at least 500mm from the building footings. Closer than this and the trench itself becomes a source of moisture beside the footings.
What does efflorescence on a retaining wall mean? Efflorescence — the white, powdery crystalline deposit on a masonry wall — is a sign of moisture moving through the wall. Water carries soluble salts from the mortar or masonry as it passes through, and when it evaporates on the surface it leaves those salts behind. If you can see efflorescence on a retaining wall or basement wall, you have a moisture problem behind the wall. Solve the drainage upstream first, then clean the efflorescence and wait to see if it returns.
Do I need council approval to install a spoon drain or ag pipe? In most cases, drainage work within your own property boundary that discharges to the stormwater system does not require development approval — but this varies by council area. Check with your local council before starting work, particularly if the work involves connecting to the street stormwater system or affecting shared drainage infrastructure.
Related Reading
- What is a Spoon Drain?
- How Agricultural Drains Wreck Houses
- Do You Even Need an Ag Pipe?
- DIY Drainage Inspection for Sloping Sites
- Water Around a Waffle Pod Slab
- Do Sleeper Retaining Walls Need Drainage Pipes?
- What is Slab Heave?
- Forensic Structural Engineering